Easy and foolproof steps on how to paint furniture when you’re not a DIY pro
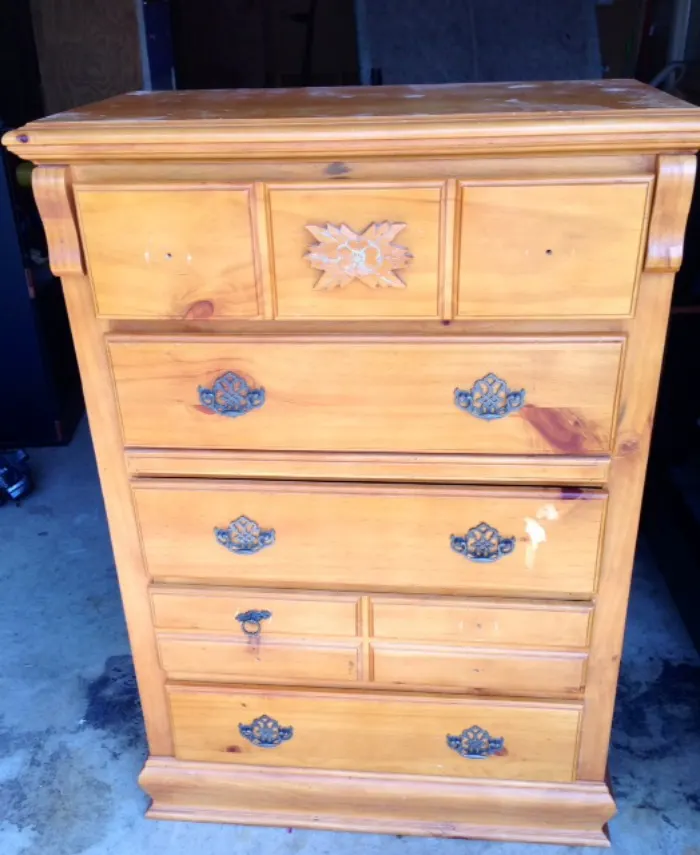
This is my very sad, old and beat up dresser that was tucked away in my closet for years. I used it to store off-season clothes and miscellaneous things. I decided to pass it on to my daughter, but of course, it needed a bit of a makeover first.
This a wood dresser, so I did not sand it whatsoever because I didn’t feel the need to nor did I want to. 😉
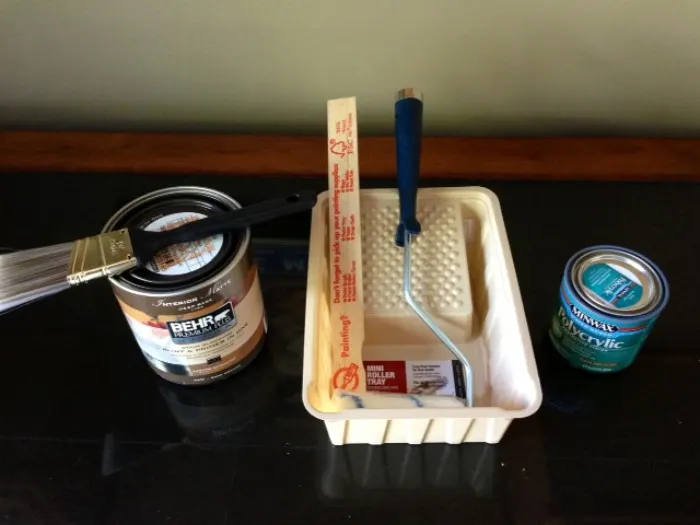
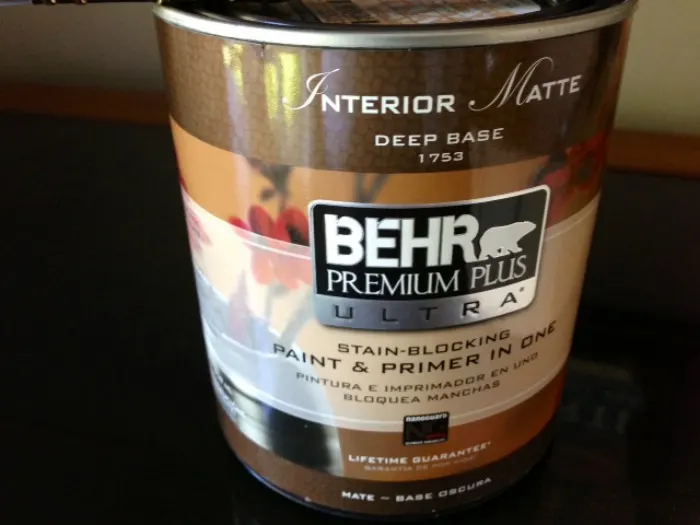
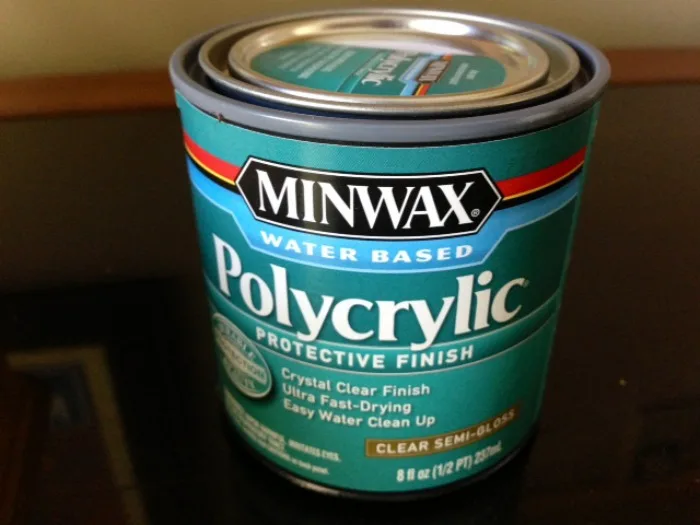
This is what I purchased for this project: Behr Premium Plus paint in Chickadee (1 qt) which was not completely used, but I got a bigger can so that I had some leftover paint for future projects. A small foam roller, a small angle paintbrush, a mini tray for the paint and some Semi-Gloss Polycrylic Finish
.
Here’s a close up of the paint I purchased. I love BEHR paint and have used it in my home for years. Just when I thought it couldn’t get any better they added primer to their paint (Premium Plus Ultra). It is pricier but soooo worth it.
It allows you to skip a full step and save time. If you decide to use another type of paint that does not include primer, please make sure you apply primer first!
Take off the hardware and remove the drawers BEFORE you start painting them. It’s common sense, but I learned the hard way.
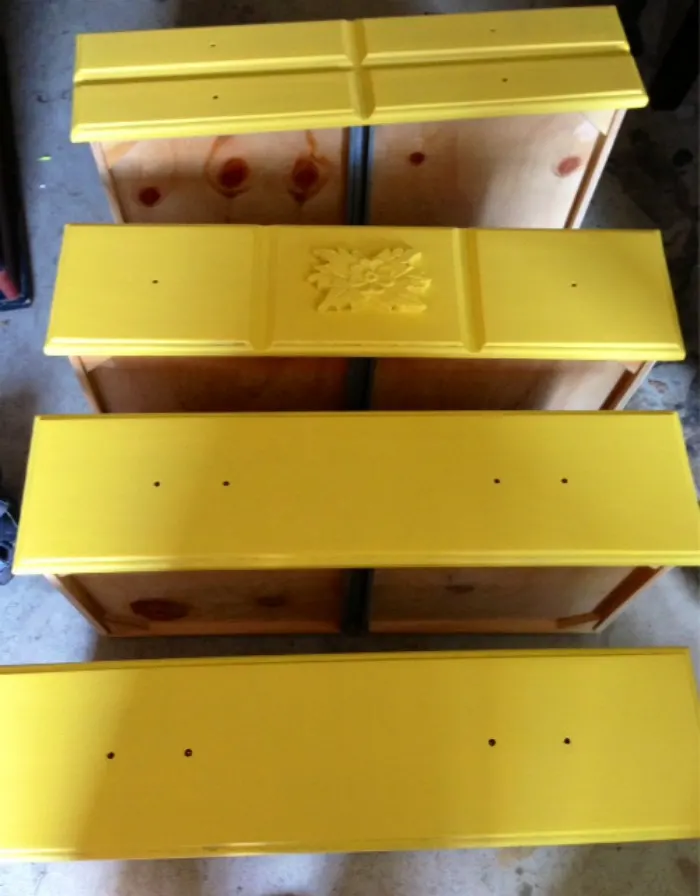
It will make things much much easier. So the dresser got one coat of paint and about an hour later a second coat. Two coats of paint and 24 hours later and this dresser was starting to look mighty fine.
So after a good 48 hours or more (did I mention we were busy?) from the last coat of paint, it was time to put on the sealer. There are lots of options at your local home improvement store.
I personally chose the Semi-Gloss Polycrylic Finish because I wanted the shiny finish. This stuff is great for wood furniture, it will protect it from water stains, scuffing and chipping.
You probably should use a new brush for the sealer, but I’m too cheap and just reused the one that I used to paint with. Of course the brush was cleaned first.
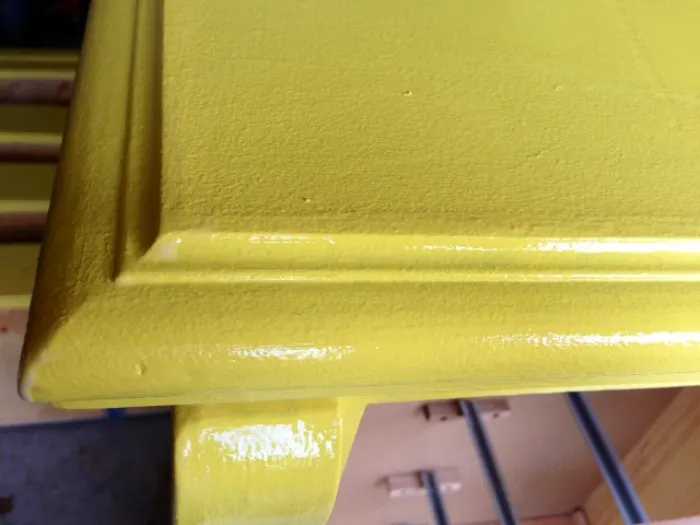
We only used one coat and this is what it looks like up close. Do you see the shine?! I love this stuff! I even had my husband put it on some other furniture that was looking a bit dull.
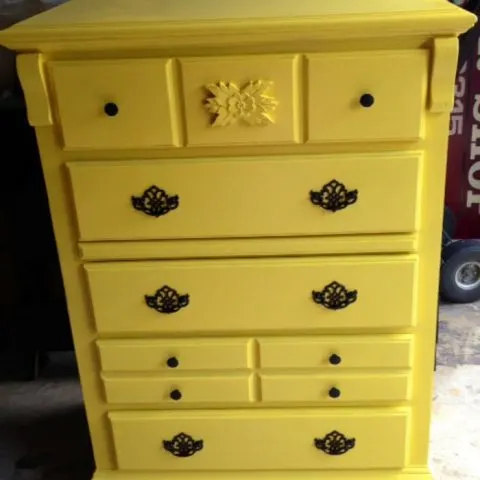
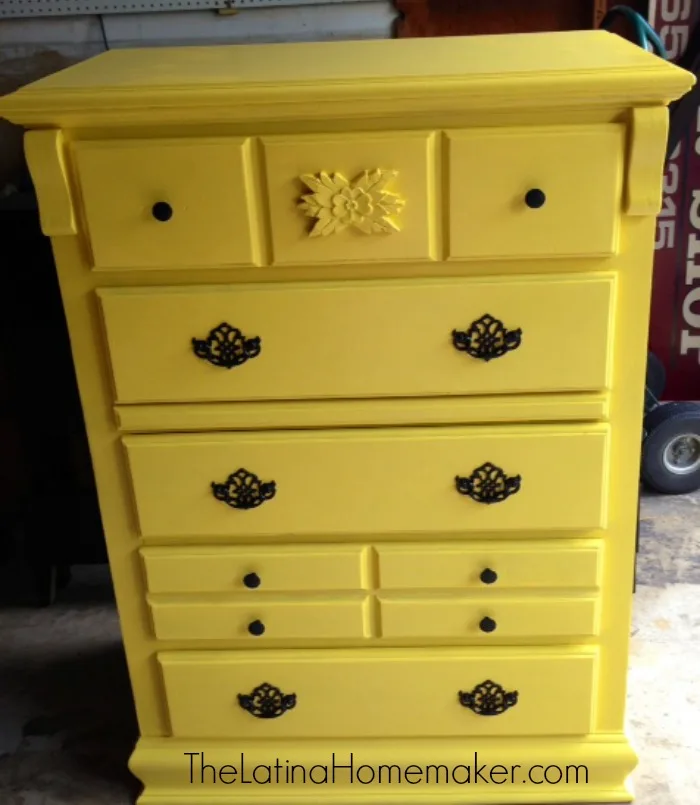
And here’s the finished dresser…isn’t she beautiful?! My husband used some leftover black spray paint for the hardware.
If you look at the before picture, some of the hardware was missing. We purchased 6 knobs from our local hardware store for 99 cents each.
They’re black and have a unique design that has a vintage look (although it’s hard to tell from this picture) and match perfectly.
Now wasn’t that easy? Seriously, you paint, repaint (if you want to add another coat) and seal. Super easy and my type of project.
Although I have to be honest, my husband did the bulk of the work while I worked on other things. Thanks hun!
I hope this gives you the peace of mind to go on and paint that piece of furniture you’ve been contemplating on redoing. Happy painting!
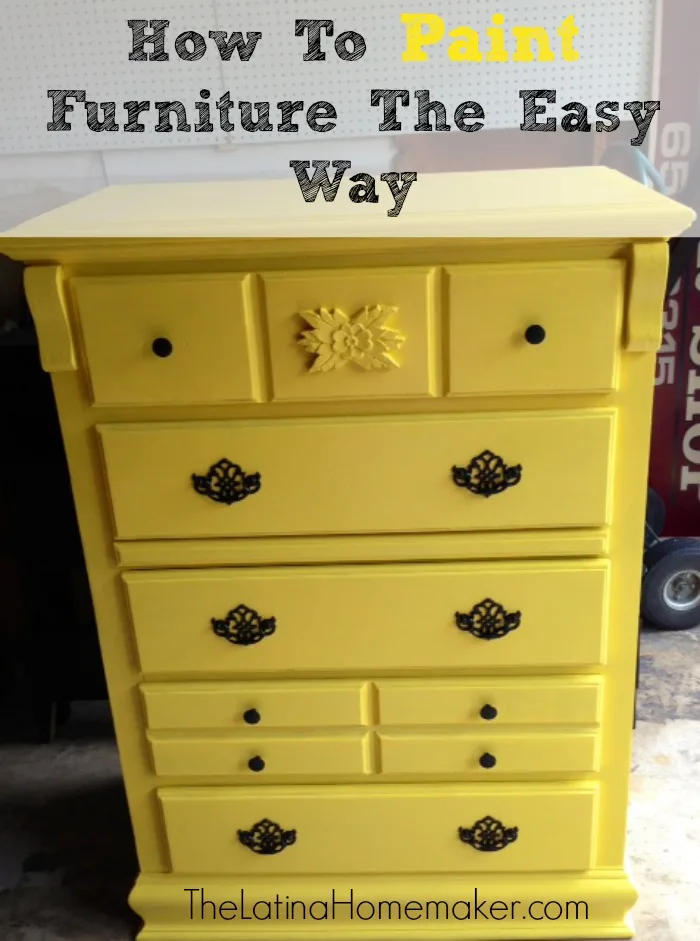
How To Paint Furniture The Easy Way
A simple DIY project. Easy and foolproof steps on how to paint furniture. Check out how I turned an old dresser, into a beautiful piece of furniture.
Materials
- BEHR Premium Plus Ultra (or any brand of paint/primer)
- Minwax Polycrylic Protective Finish
Tools
- Small foam roller
- Small angled paintbrush
- Mini tray
Instructions
Take off the hardware and dresser drawers.
Pain with one coat of paint and allow to dry for at least an hour or two.
Paint with a second coat of paint and allow to dry overnight.
Seal with polycrylic finish.
That looks lovely! Nice work! I see that this post is a couple of years old. How has your hard work held up? I just painted a dining room table and put several coats of the Polycrylic on it and am just wondering if it lasts.
I found this post when searching for the easy way to paint furniture because I have several pieces that I plan to refresh with paint in the next couple of weeks. Looks like we’re basically doing the same thing. I think an easier way would be to have someone else do it!
Hi Esther. It looks exactly the same and has held up wonderfully. I’m actually getting ready to repaint again to a different color, but I know this time around I’ll have to sanding it a lot more. Have fun painting! 🙂
This is wonderful! I just bought a new white writing desk that I’m using as a vanity and it makes my lingerie chest and matching night stands look truly awful. I’d read that I should apply 2 coats of primer before 2 coats of paint but now I know about Behr paint with primer. Steps saved! Thank you!
Awesome! Would love to see how it turns out. 🙂
[…] Homemaking Tip #54: Paint Furniture the Easy Way […]
[…] In fact, some of our best DIY projects have occurred during our busiest seasons. Remember this dresser? This awesome makeover happened while we were expecting and in the process of […]
[…] To offset some of the whites and grays in the room, I added this fun yellow dresser. I also love that I can store some of the baby’s essentials including diapering needs. If you want to learn how I converted this old dresser into a beautiful piece of furniture simply click here. […]
ahhhh! I love this color! It looks brand new now. I’m glad to hear that you didn’t sand it because that’s what I dread. I need to try this.
Thank you! I like projects that are as simple as possible, so no sanding for me. 🙂
OMGoodness…what a gorgeous paint job – I love the colors and the hardware.
Thank you Yona! I love it too and considering it was our first time (hubby did most of the painting), I don’t think it turned out too bad. 😉
[…] 8.Saving the Family Money {6 Ways to Save Money on Outdoor Projects} 9. The Latina Homemaker {How to Paint Furniture the Easy Way} 10. An Inviting Home {Monthly Budget […]
I love the new look! Super cute! I think I’m going to try this. I have an old dresser that looks quite pitiful and I was going to put it on the curb. After reading this, I think I’m just going to have to give it a makeover! Thanks for sharing!
Thanks Emily! Yes, definitely give it a try, I would love to see the results!
Great pics. Love the finished project. (I found you on Thrifty Thursday).
Thank you Tina! I love it too! It looks beautiful in my girls’ room. Hoping to share that one day, once I finally finish it. 🙂