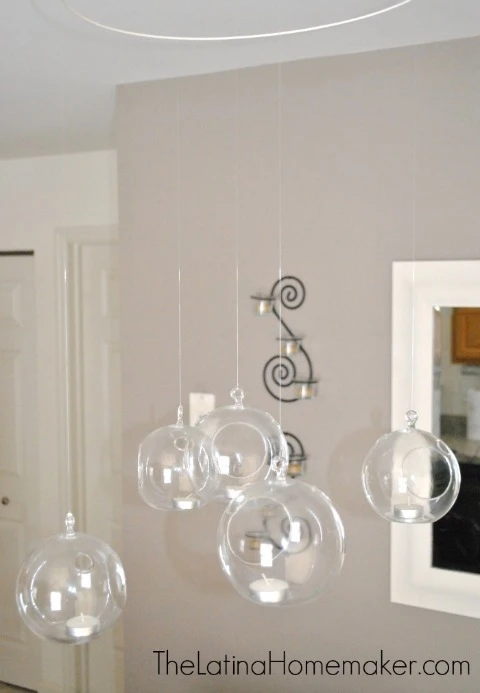
This is one of the first decorating projects we completed in our new home last fall and I absolutely love it! Funny thing is that I purchased the glass globes many years ago and forgot I even owned them until I was packing to move. It worked out perfect because the way our current kitchen/dining area is set up, is a bit strange. The current light fixtures would not hang directly over our dining table unless we changed the electrical wiring. So we took the easy way out and made our own that requires no electricity, but still looks very pretty.
DIY Glass Globe Chandelier
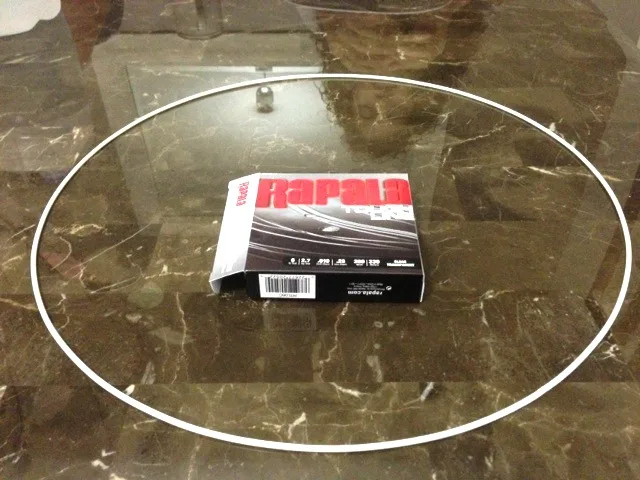
What we used: Fishing line, 3 ceiling hooks and the round wire from an old lampshade. My husband also spray painted the wire since it was an ugly metal color.
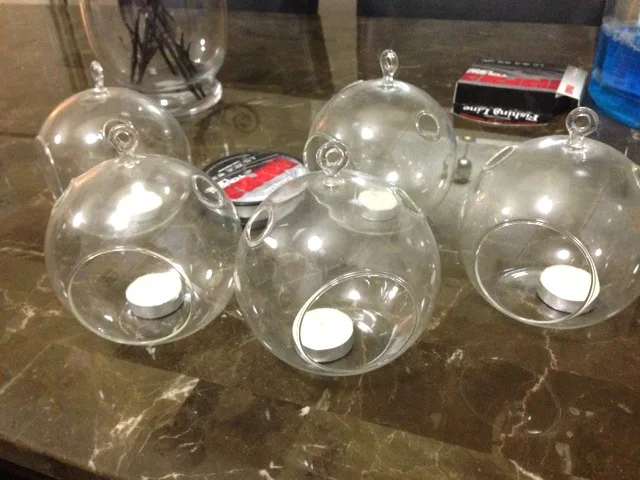
And the most important part; the glass globes. I purchased 5 from CB2. The tea lights are not included so you’ll have to buy those separate.
What we did:
1. My husband screwed three hooks into the ceiling about 4 inches apart in a straight line.
2. Using fishing line, he suspended the round wire from the ceiling hooks. This was a bit tricky because you want it to be as even as possible.
3. Again using fishing line, he tied the line very tightly around each glass globe opening (on the top) and then tied the other end of the line to the round wire.
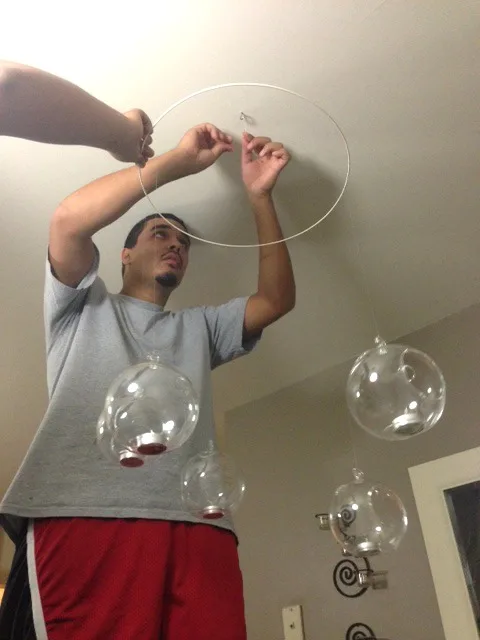
4. The only globe that was not done this way, is the one in the middle. That one was suspended from the middle hook in the ceiling, which is what you see my husband doing in the photo below.
The length of the fishing line depends on your ceiling height and personal preferences. I honestly had no real plan for this and since the globes are suspended at different heights, it really didn’t matter. We would simply eyeball it and then secure the globes when we agreed on a good placement. It was honestly very simple and the end result is beautiful. It looks even better when it’s lit up at night.
I think this a great project for other rooms in the house as well. Just make sure you secure them tightly so they don’t unravel and break. Now I just need to figure out what to do with my bare living room walls, but that’s another post…or two. 🙂


[…] The Latina Homemaker […]
love this! found you on sits..
camille @imperfectlyimaginable.blogspot.com
Hi Camille! Thanks! Glad you stopped by.
What a cool project! I would never guess that this was crafted by you-it looks like a piece from a high-end catalog! Thank you for sharing at Fridays Unfolded!
Alison
Nancherrow
Hi Alison! Thanks for the kind words and for the link up party! 🙂
Sooo pretty! Thanks for sharing! Visiting from #SITSsharefest this morning.
Hi Amee. Yeah, I kind of like it myself. 😉 Thanks for visiting!
This looks amazing! I would love to do this in our home. Now to figure out which room!
I originally purchased these for my bedroom to place over a reading nook. I’m sure you’ll come up with good spot. 🙂 Thanks for visiting!
THat’s CRRAZY cool!! I love an original DIY! I have always wanted to order from CB2. I just never have! I also love a helpful husband! Glad he’s there to help you make marvelous home decor!
Yay for helpful husbands! I was in the third trimester of pregnancy at the time, so I was “managing” the project instead. 🙂 Thanks for stopping by!